This isn't intended as a guide to how build a ride-on garden railway. Others have done that much more comprehensively (see www.rideonrailways). How you build a garden railway will depend on your budget, the space available to you and the skills of your labour force.
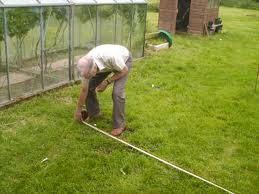
Marking out the curves. We know our loco can cope with an eight foot radius,but ours will range between sixteen and 24 feet radius to make life easy for her.


Once we've got the beginning and ends of the curves marked out with canes,
we use a bucket of unwanted white emulsion to mark out the route. This will mark the inside edge of the track bed. Two days later after almost continuous rain, it's a relief to find that we can still make out the line we painted.
Having once deturfed enough lawn to put in a vegetable patch by hand, it seems wise to hire a petrol-powered turf cutter from a local builder's merchant.
Once I've worked out the best depth to use (deep enough to lift the roots, but not too heavy to lift), it only takes an hour or so to remove fifty metres of turf. That includes time for standing around with a cup of tea admiring our handiwork. The whole line is 70 metres or so long, but the final twenty metres of the loop runs through our `woodland' area where we'll be digging into leaf matter rather than grass.

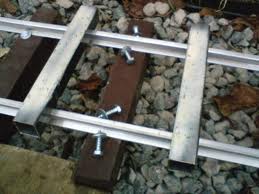
But will it go round those curves?
Much to our relief, yes!